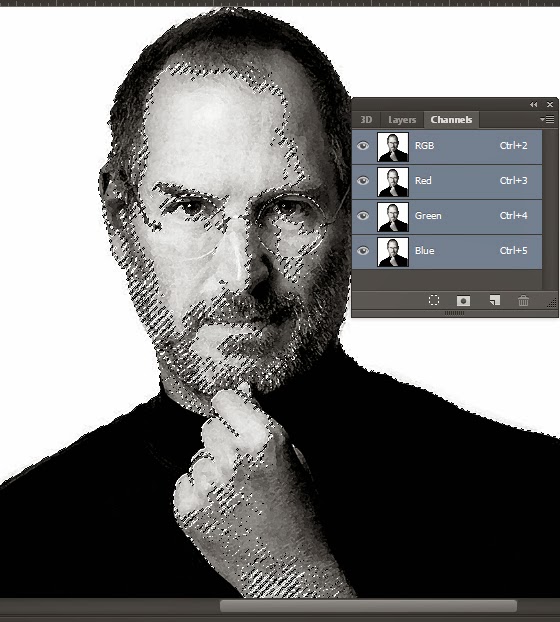
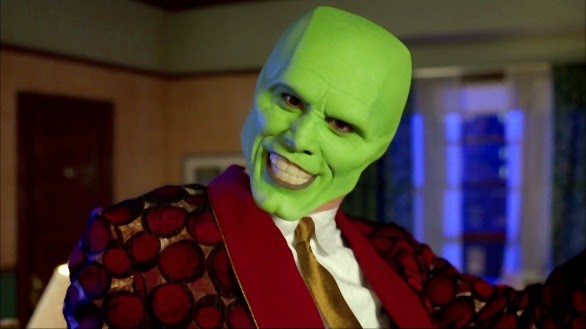
efeito de foto antiga

02. Vá em Filter> Noise> Dust and Scratches
03. Pressione Ctrl+J para duplicar a layer, vá em Filter> Blur> Gaussian Blur e defina o valor de Radius em 3 pixels.

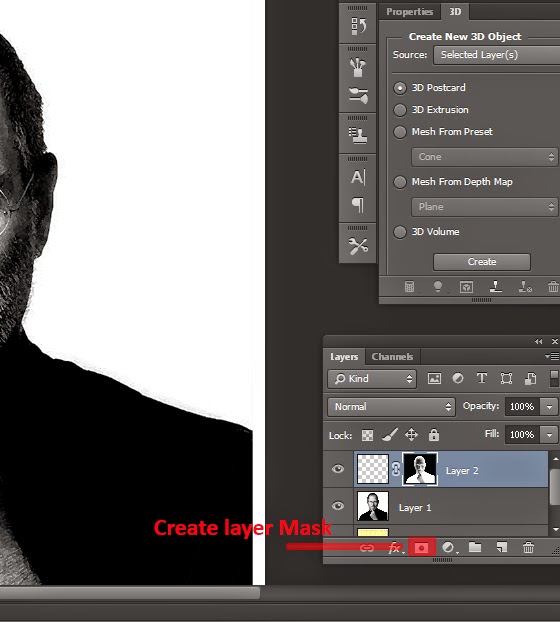
04. Vá em Layer> Layer Mask> Reveal All
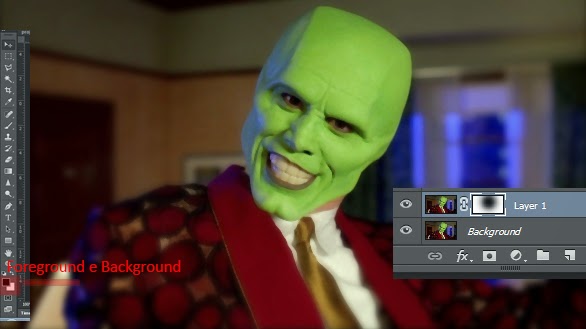
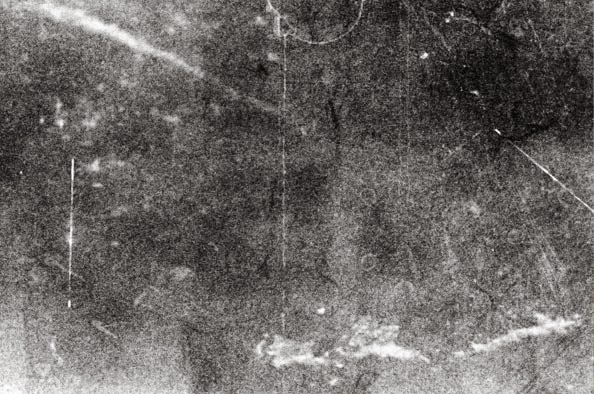
05. Vá em File> Place
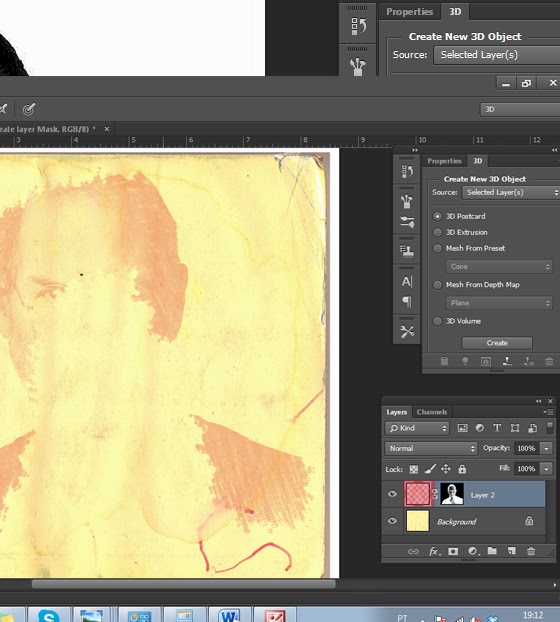
06. Mude o modo de blend da layer para Soft Light.
07. Vá em File> Place, adicione uma nova textura e repita o procedimento.
08. Mude o modo de blend da layer para Multiply, vá em Image> Adjustments> Brightness and Contrast, defina o valor de Brightness em 80 e presione Ok.
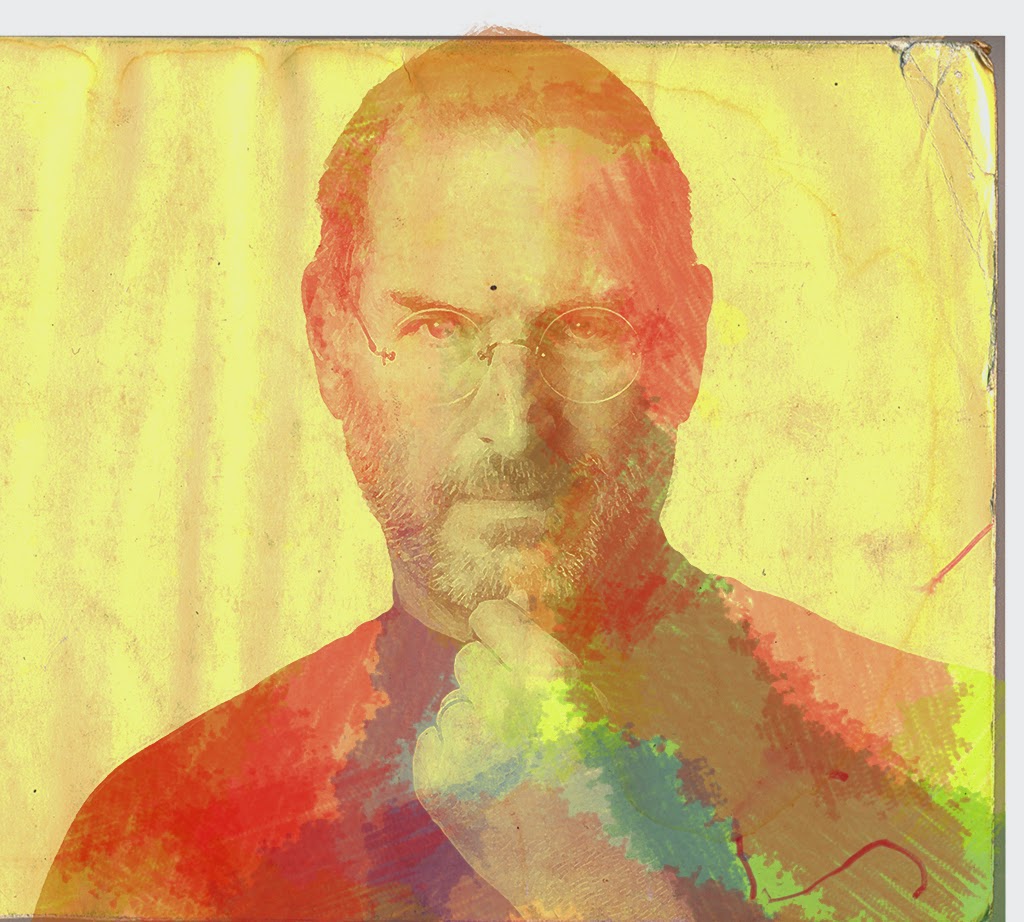
09. Vá em Layer> New Adjustment Layer> Levels e defina o valor de 5, 1.48 e 255, pressione Ok.
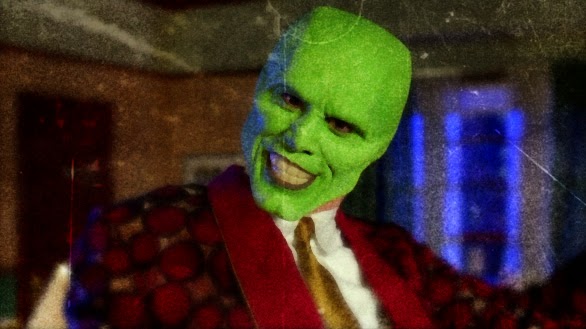
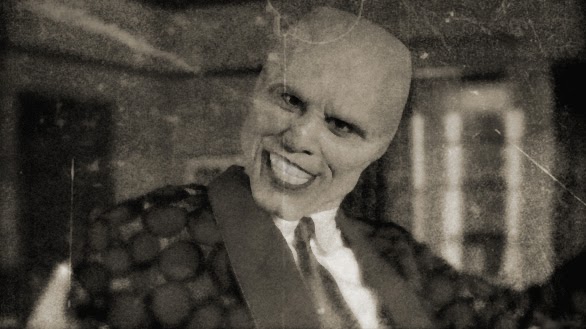
10. Vá em Layer> New Adjustment Layer> Hue/Saturation, clique na opção Colorize e defina o valor de 38 para Hue, 12 para Saturation e 2 para Lightness, pressione Ok e no final sua imagem ficará como a da foto abaixo.
Webtutoriais:FAD4A06F